


In this article, we will be discussing about DevOps and how you can make a simple pipeline using Jenkins and a source code management tool (GitHub).
According to Wikipedia
Jenkins is an open source automation server. It helps automate the parts of software development related to building, testing, and deploying, facilitating continuous integration and continuous delivery. It is a server-based system that runs in servlet containers such as Apache Tomcat.
You can install Jenkins on your current operating system or install on some other operating system using virtual machines to get a taste of other operating system.
In this, we will be installing Jenkins on the windows machine. So to download jenkins head over to this website https://www.jenkins.io/download/#downloading-jenkins
After downloading the setup install it , you may refer to this article for installing in windows -> https://www.jenkins.io/doc/book/installing/windows/
After installing jenkins on the available port(8080) head over to your browser and paste this url-> localhost:portno .
Example - localhost:8080
For the first time after installation it will ask for the password , which can be found in the file shown in the dialog box, just go to the required file ,copy the password and paste it here. After that jenkins default workspace will open :
Workspace preview:
Creating Jenkins file
A jenkins file contains step by step procedure that needs to be executed at jenkins workspace. The file contains a pipeline in which various stages are present and inside stages there are steps.
Read more about the jenkins file here https://www.jenkins.io/doc/book/pipeline/jenkinsfile/
For this tutorial, we will be using a simple Jenkinsfile which will look like this.
This file will not do any code building, as it is a sample file from the official site to get you started. This file has 3 stages namely Build, Test and Deploy.
Each process/stage will execute only after the previous stage is complete that's why named pipeline.
If during the process any stage gets failed, the overall job will be failed.
Jenkinsfile (Declarative Pipeline)
pipeline {
    agent any

    stages {
        stage('Build') {
            steps {
                echo 'Building..'
            }
        }
        stage('Test') {
            steps {
                echo 'Testing..'
            }
        }
        stage('Deploy') {
            steps {
                echo 'Deploying....'
            }
        }
    }
}
After creating the Jenkins file head over to your GitHub account and create a repository. The repository can be public or private but generally, we use private repo due to security reasons.
If you are creating a public repo skip the below step and go to Jenkins setup:
Generating SSH keys in GitHub
For accessing the private repo we have to generate ssh keys. For this simply move to the global settings in your GitHub account and click on SSH and GPG keys and add a key.
Now go to your windows terminal and using the below command generate public and private keys. Put the public key on GitHub and the private key on Jenkins which we will see later.
How does the key work?
So there are two keys one is public and the other is private, public is present on GitHub and private on your pc or Jenkins (from where you are accessing your repo). Github matches both the public and private keys and if they are a match the client(Jenkins) will get access to your private repo.
Jenkins setup
Select create a job from your Jenkins workspace.
Give a name of your choice and select pipeline.
In pipeline section select -> Pipeline script from scm.
Then scm ->git and provide your repo url (ssh not https).
In credentials add->jenkins and then for the Kind select SSH username with private key.
Give your github username , give any id and description you want.
Next enter your private key and then select add.
In branches to build select your main branch by default it should be */master, provide the branch of your repo in which jenkins file exist.
Next give script path , path of your file from the branch . In this case it is in root so we will type Jenkinsfile
Then save
All the steps are now completed and we can build the job.
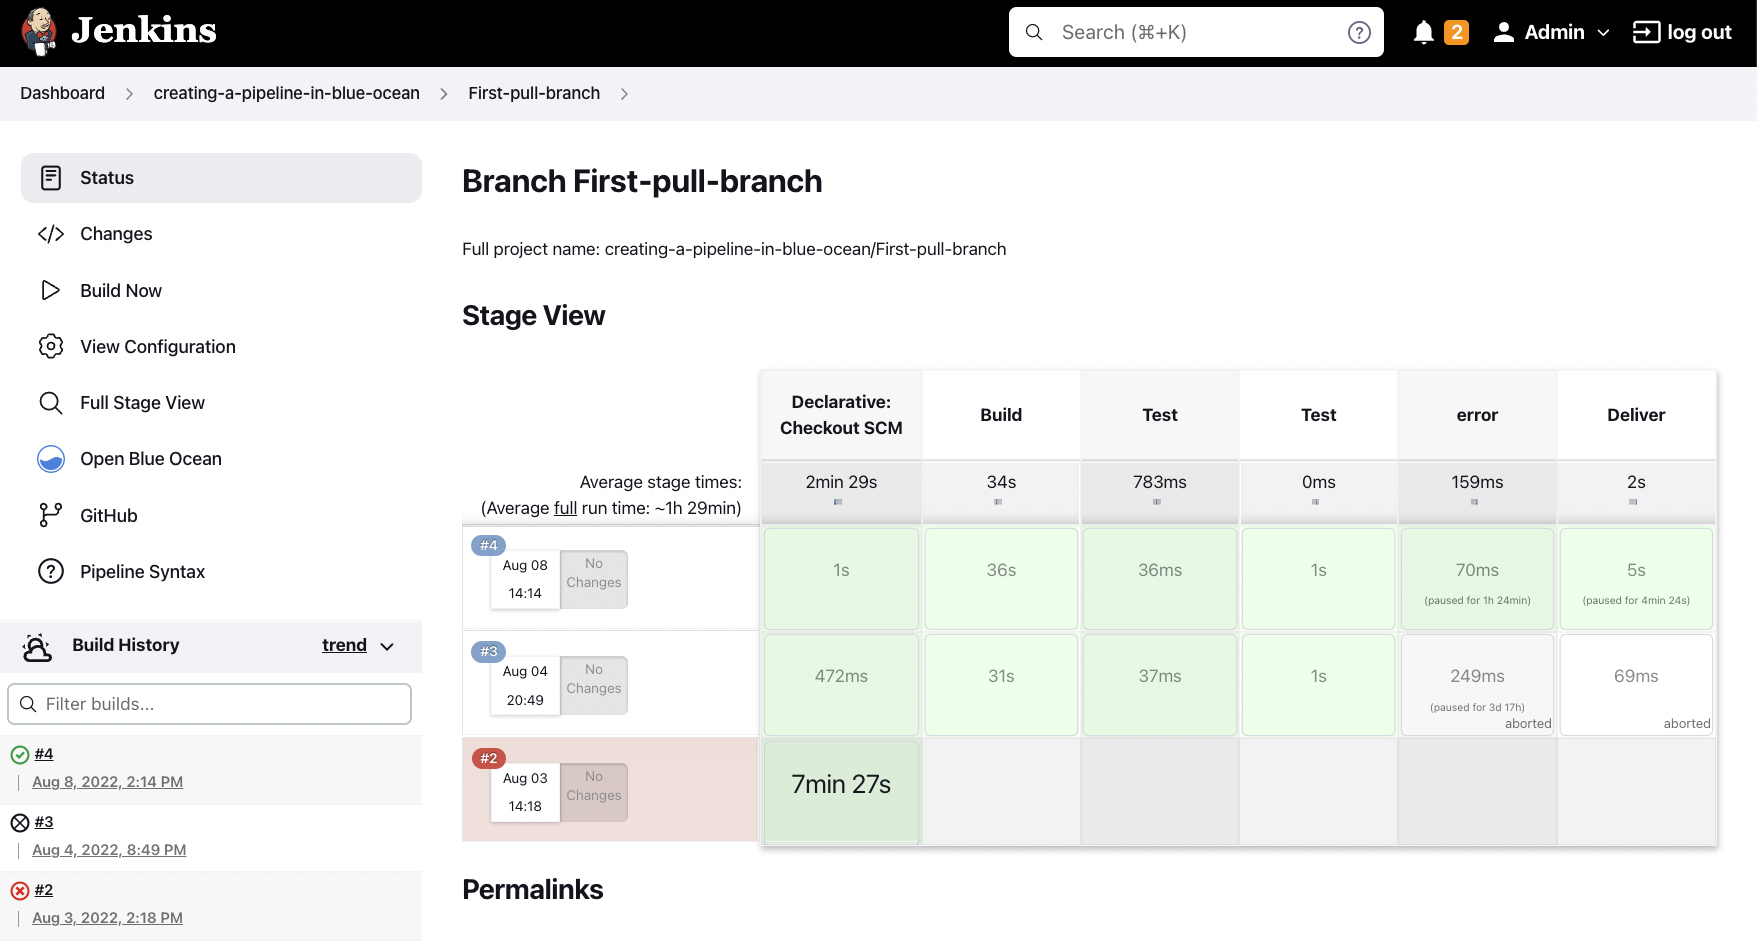
Select build now, after building the logs can be seen in the workspace.
That's all for now.
PS: I have just released a chrome extension to manage your tabs. You can get it here :)